How to Replace MakerBot Filament Mid-Print
MakerBot Replicator lets you switch filament out in mid-print easily with the LCD menus. If your reel of filament is running low, or you’re doing some advanced color switching, here’s how to safely switch the filament.
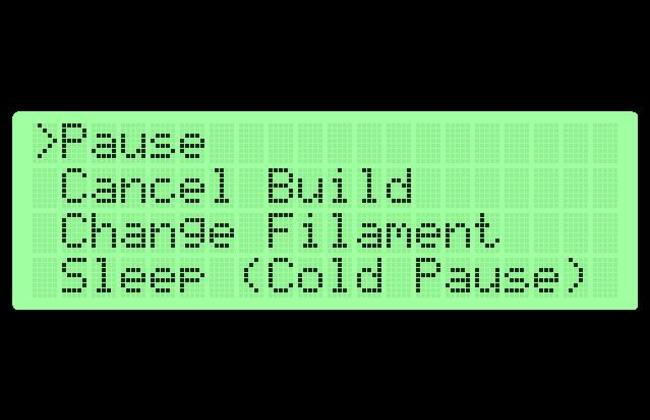
- Press Filament Change in the menus. Try to press this while your printer is doing infill, so you don’t get a blob on the surface.
- Press Unload. Follow the removal instructions to remove the current color
- Press Load. Follow the loading instructions to insert your new color. If you have a new model with the levers, remember to switch them back so that the motor is driving the filament again.
- Exit the menu, then press Resume Build. The LCD may say “restarting build”, but it is starting up where it left off. The pause/unpause option does not work to resume the build.
This will let you easily switch out filament reels for longer or more colorful prints with less hassle about making sure you have enough. As long as you press Filament Change while the print head is not on important surface detail, the print will resume where it left off. If you switch filament quickly enough, the print won’t cool off too much and the layers will still have good adhesion.